The Romance of Brick Pavers and Old Texas Towns
Red clay kiln-dried brick pavers shaped the earliest Texas streets. We traverse this picturesque brickwork in historic districts across the Lone Star State, where well-built streets have long enhanced daily life and commerce. Replacing muddy roads with durable, well-constructed surfaces—set a precedent that echoed through the development of early Texas
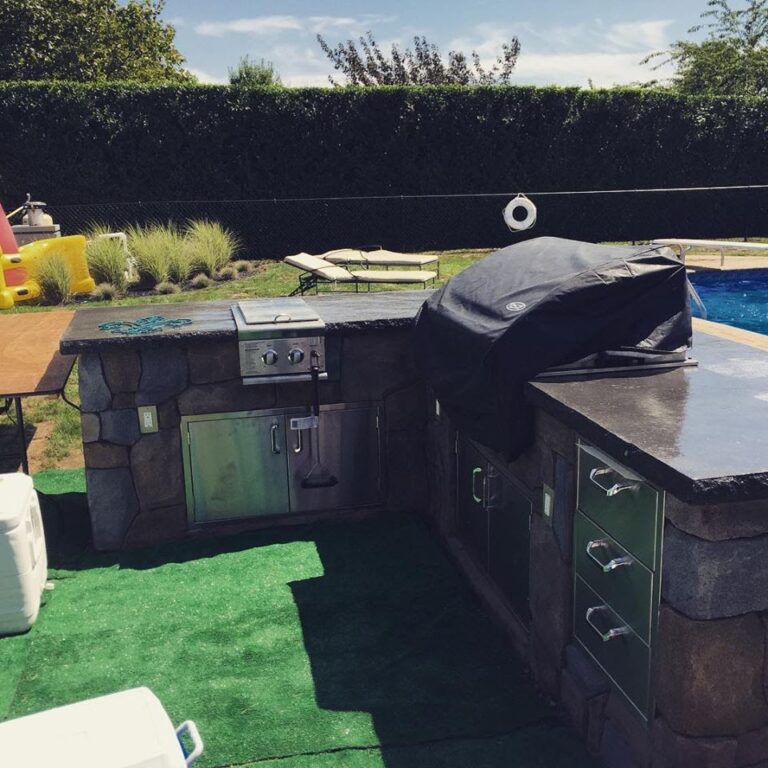
Outdoor kitchens, 💗 the “Hearth” of outdoor living
The “Hearth” of Outdoor Living: Cooking, Gathering, and Connecting with Nature An outdoor kitchen isn’t just an extension of your home—it’s an invitation to step
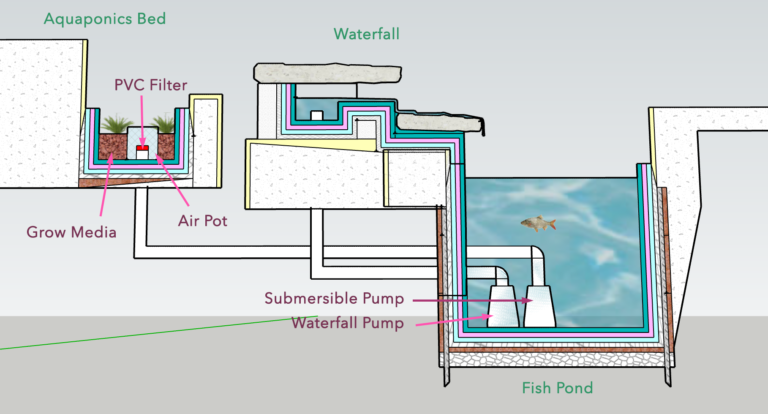
Aquaponics 101: Building an Efficient System with a Fish Pond and Grow Bed using a Single Pump
Table of Contents Introduction Setting up the Fish Tank and Grow Bed Fish Species for Aquaponics Media and Aerobic Nitrifying Bacteria Checking Ammonia and pH
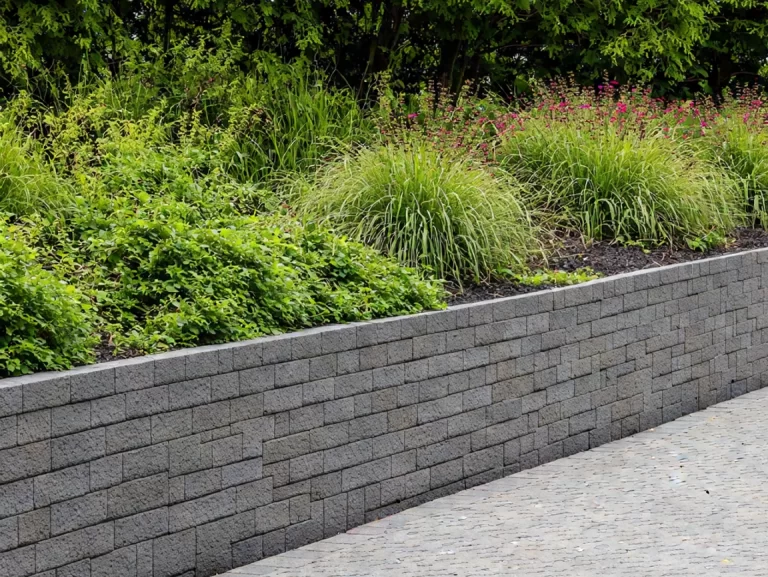
Add a geogrid to your retaining wall backfill.
A landscape is a wonder of water-conservation, air-purifying planting beds, paths and retaining walls. and maintained by the conservationist and steward. Make your trail unforgettable
Preparing the Root Ball of a Nursery Plant for Aquaponics: A Step-by-Step Guide
Aquaponics is a sustainable and efficient method of gardening that combines aquaculture and hydroponics. In this system, nutrient-rich water from a fish tank is used


The Romance of Brick Pavers and Old Texas Towns
Red clay kiln-dried brick pavers shaped the earliest Texas streets. We traverse this picturesque brickwork in historic districts across the Lone Star State, where well-built
Outdoor kitchens, 💗 the “Hearth” of outdoor living
The “Hearth” of Outdoor Living: Cooking, Gathering, and Connecting with Nature An outdoor kitchen isn’t just an extension of your home—it’s an invitation to step
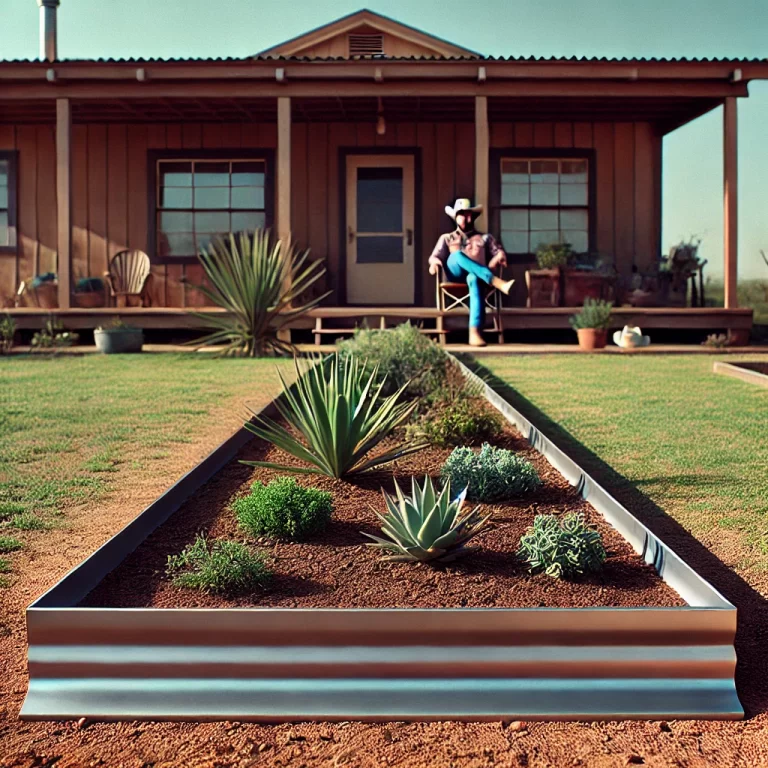
Steel Landscape Borders: How to install better quality for less money.
Steel Landscape Borders: A DIY Guide to Purchase and Installation Steel landscape borders are a sleek, durable, and modern way to define garden beds, pathways,
Preparing the Root Ball of a Nursery Plant for Aquaponics: A Step-by-Step Guide
Aquaponics is a sustainable and efficient method of gardening that combines aquaculture and hydroponics. In this system, nutrient-rich water from a fish tank is used
A curated mix of tropical and xeriscape plants 🌴🌵for your pond’s aquaponics biofilter. 🐠💚
Welcome to the lush world of aquaponics, where innovation meets nature’s beauty! Are you looking for a way to make your pond or water feature